Changing the tag batteryUpdated 5 months ago
IMPORTANT: When you replace the battery, the tag must be near the receiver. The tag will immediately check for new firmware when the battery is inserted, and if new firmware is available it will download it. During this time your entire Wayzn Smart Pet Door system will be unavailable, and the process should complete within a few minutes or less. Your tag can not begin normal operation until the firmware check and any necessary download is complete. For this reason, be sure to keep your tag within a few feet of the receiver every time you change the battery.
Step 1
Position the tag near the receiver.
Step 2
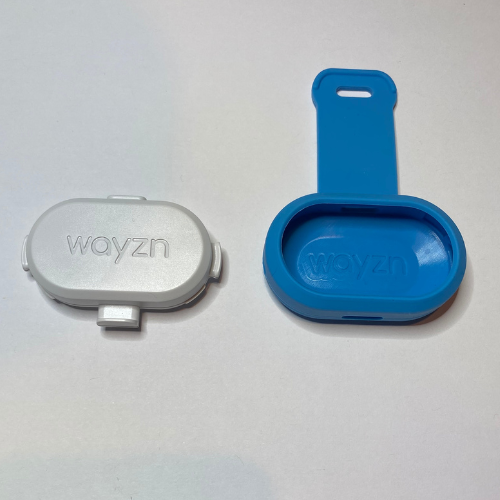
Remove the tag from the strap by gently stretching the strap to release the top and side posts, then pull the tag from the strap to release the bottom post.
Step 3
Open the enclosure by using your fingernails or a small screwdriver to separate the two halves. Start at one end and work your way around the enclosure in circles until the enclosure opens.
Step 4
Remove the old battery by pressing on the edge of the battery nearest the end of the tag enclosure.
Step 5
Insert a new CR2032 battery with the plus sign (positive terminal) facing you.
Step 6
After installing the battery, replace the enclosure cover so that the long post of the enclosure base and the long post of the enclosure cover are aligned with one another. Apply gentle sideways pressure on the cover as you press down to remove any air. Continue gently working the two halves of the enclosure together until you achieve a snug fit with no gaps along the seams.
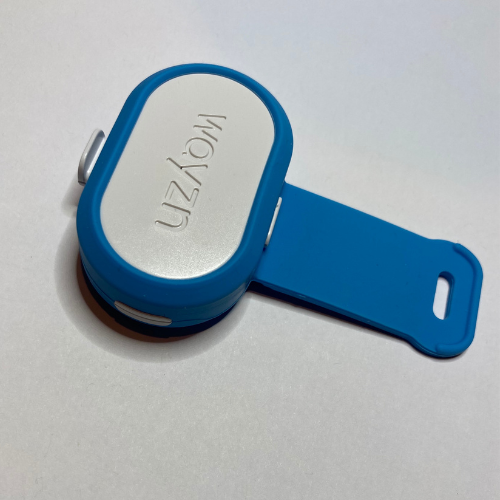
Next, re-insert the tag into the tag strap. First, make sure the logo on the inside of the strap and the logo on the enclosure are both facing you and oriented the same way, as pictured.
Then insert the tag into the strap, starting with the long post at the bottom of the tag, as shown.

Finally, stretch the strap around the edges of the tag until the remaining posts sit flush with the outside of the strap as pictured here.
Step 7
Check the Wayzn app to see if your tag is downloading new firmware (You can also check the receiver to see if the LED is flashing red). If a download is occurring, keep the tag near the receiver and do not re-attach it to your pet until after the download completes.
Note: After replacing the battery, the battery strength indicator in the Wayzn mobile app will not refresh until after a tag detection occurs.
Follow these instructions to attach the tag to your pet's collar.